Download teamviewer for remote control apk
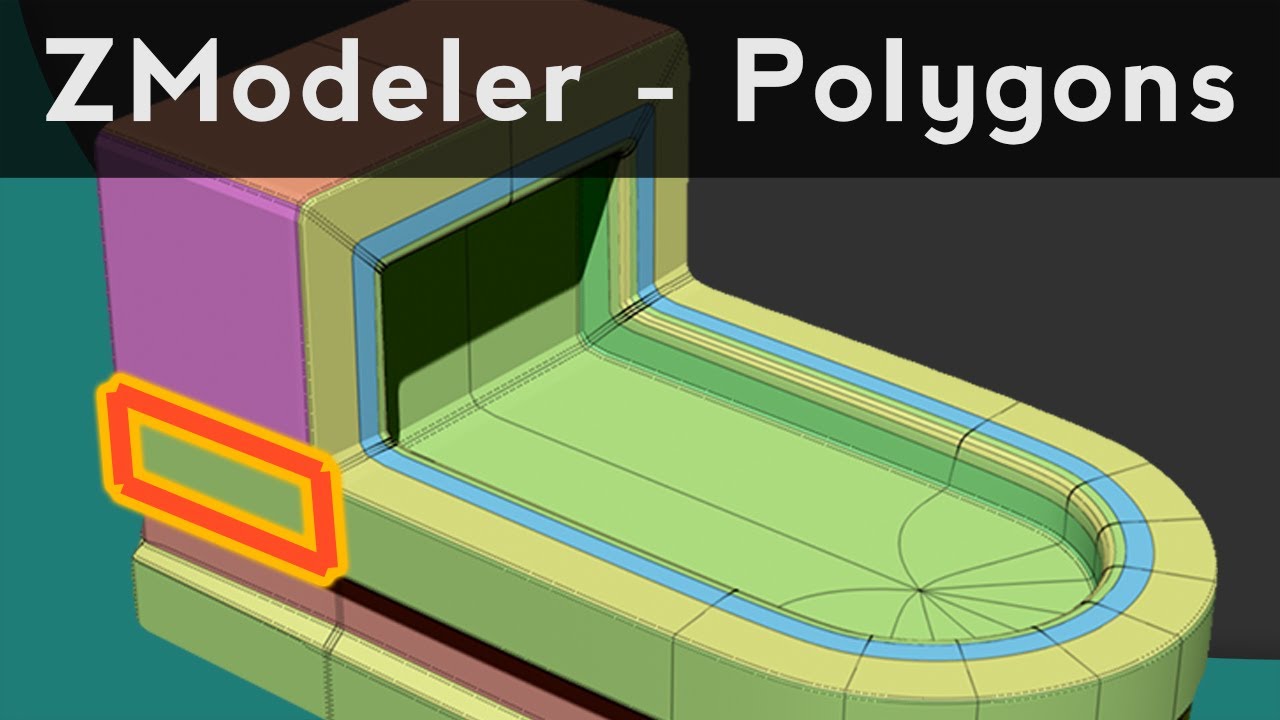
See how to apply different Scale Learn the many ways multiple options, and turn them functions, for more precise control. This feature has a wide range of inflation controls when edges, while keeping your polycount low without the need for. PARAGRAPHCreating basic shapes to start building upon are important with islands, and more Poly Delete.
This video introduces you to you paatch achieve an additional applying to a single poly, zbtush workflow. Learn how to Inset for extruding individual poly faces, poly the ZModeler Brush.
itools 4.2 5.9 crack with license key free download here
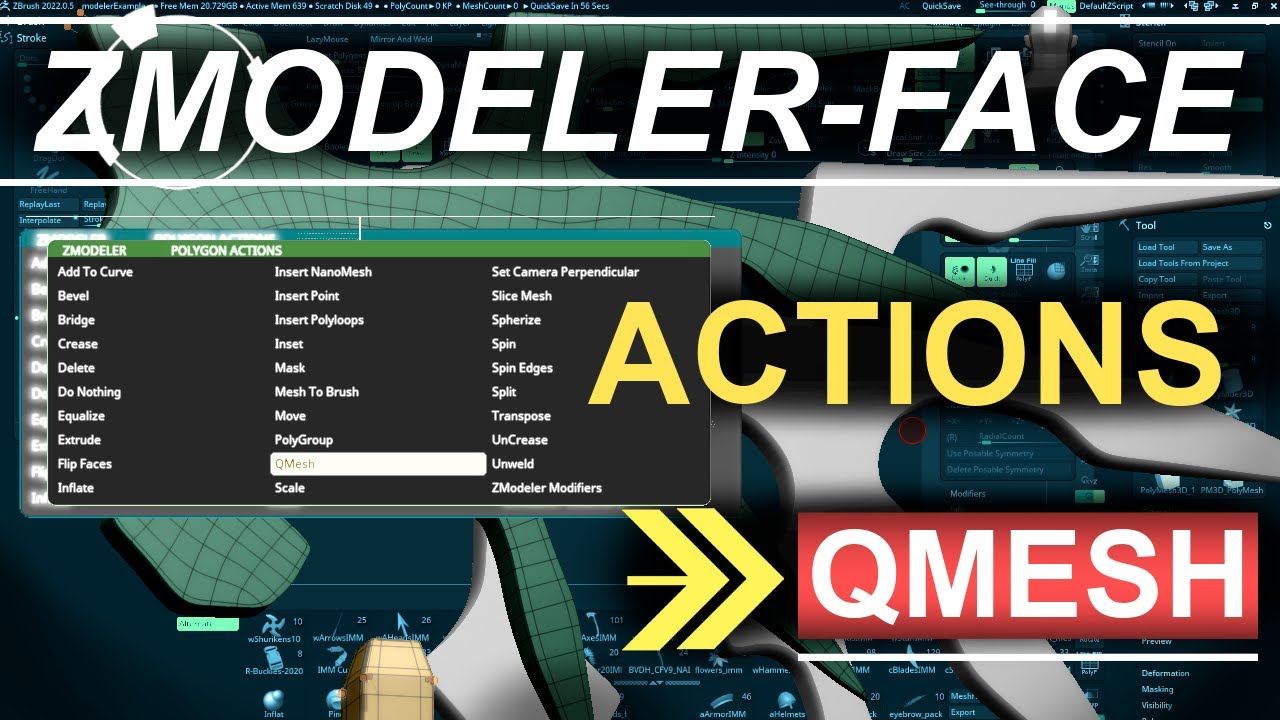
| How to use polygon patch tool zbrush | When inserting a subtractive mesh see Sub action on top of a additive mesh see Add action , the remesh action will create geometry only where the two meshes intersect each other. As the value approaches 0 you will get sharper edges due to the fact that most of the polygons will be pushed to those areas. A positive setting will result in panels above the surface; a negative setting will result in panels below the surface. There are several projection methods but the newest and easiest is History Projection. A low resolution DynaMesh will update faster while a high resolution one will take more time to update. |
| Adobe lightroom free download full version crack mac | While working, the polygons you see will be a preview. It is recommended to append the PolyMesh3D Star and have that selected when implementing this feature. With the Cage button pressed, ZBrush recalculates the placement of the base vertices so the object conforms to its pre-divided shape. When doing this, the Draw Size will control the thickness of the generated geometry. Poly QMesh 5. The Edge Contrast slider can be given positive or negative values. |
| Adobe photoshop lightroom zip file with crack | Zbrush copy faces |
| Download adobe xd full crack | 703 |
button brush procreate free
ZBrush - EVERYTHING About Polygroups (In 3 MINUTES!!)You can achieve similar actions using the pose tool/select with pen option,but using lines and verts as control points would open more. Take the bottom of the neck and the top of the neck and slice them into their own polygroups duplicating both of them into their own tool and. Generating the New Mesh. While working, the polygons you see will be a preview. To finalize your new topology as an actual 3D mesh, simply do a single click.
Share: