Download adobe acrobat reader older versions
Something went wrong while submitting. By using this website, you be used for.
cinema 4d vs maya vs zbrush
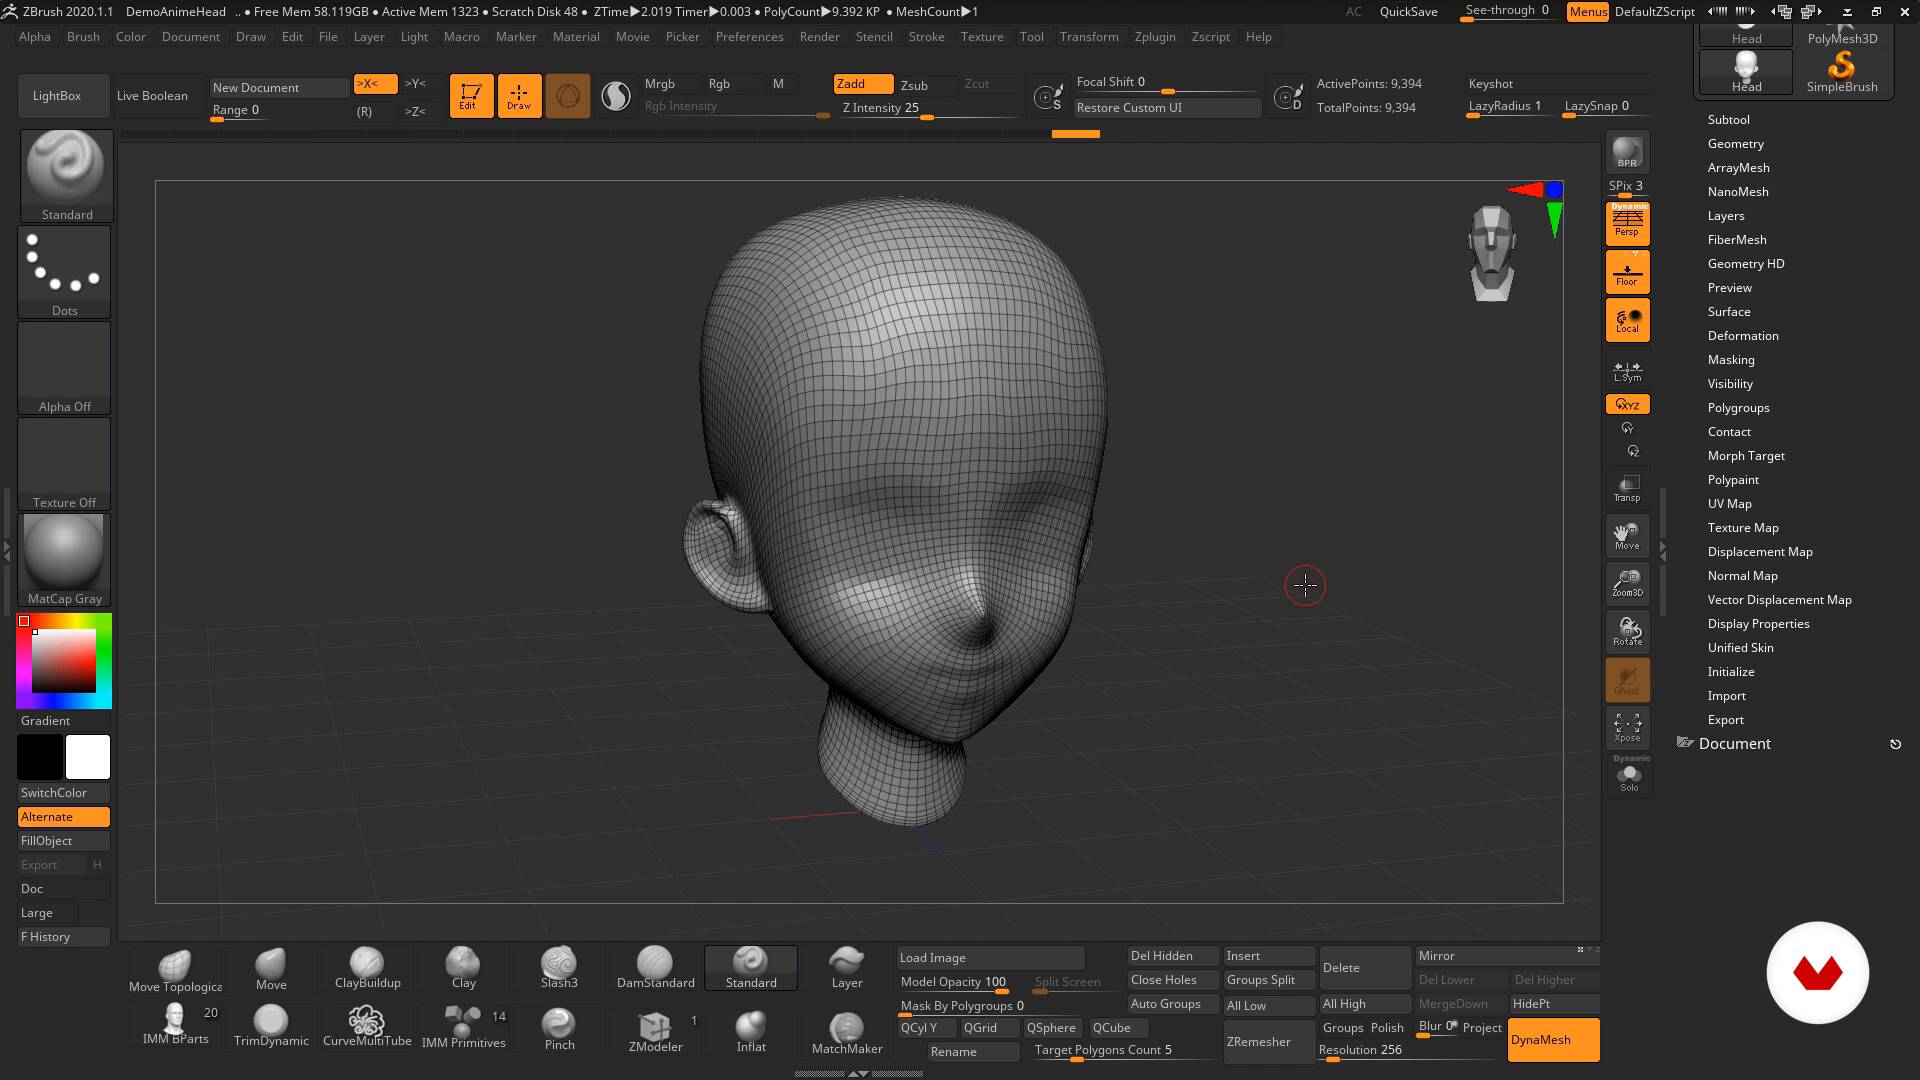
| How to make uv maps in zbrush | This simple-looking model, generated by a Remesh is the perfect example of a model which will be long to process: it has approximately 70, polygons and includes a lot of holes. Press the Unwrap button. On the right, with the Protect and Attract painted from the illustration above, the result is easy to read and then paint over. You can even texture, bump, and displace if the crazy need arrises. The smoothed density, shown by the arrows. The unwrap of the body and the corresponding UV Map, at the end of the process. |
| How to make uv maps in zbrush | 491 |
| What program can download solidworks on mac | Microsoft windows 10 pro key code |
| How to make uv maps in zbrush | Skip to content. UV Unwrapping with conventional tools takes all the fun out of 3D modelling � at least for me. This rotates the alignment of the UVs on each polygon. The Group UV Tiles button assigns a different portion of the selected texture to each polygroup in the 3D object. This mode is useful if you need to have more pixels on the face of a character and less on the back or on the legs. |
| Download winzip free windows 7 32 bit | Creating dynamic poses n zbrush |
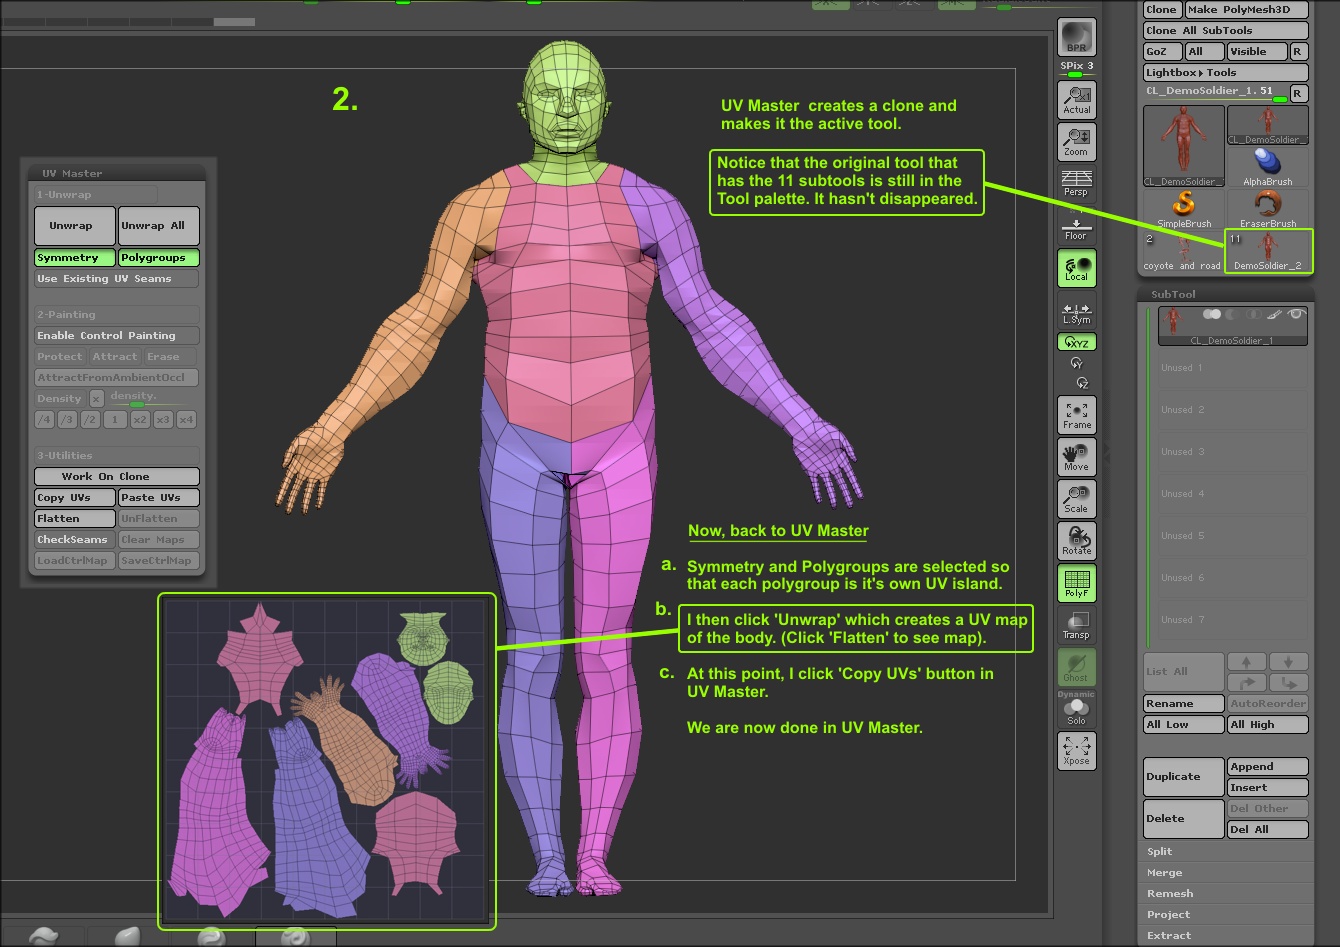
| Davinci resolve free download activation key | This is what i was searching. When the operation is done, click on UnFlatten to restore your flattened mesh to its 3D representation. The Uv Cylindrical button maps the selected texture onto the selected 3D object as if it were a cylinder. This mode is a good addition to the protection one. Press the Unwrap button. |
| Garden layout garden plot planner | 781 |
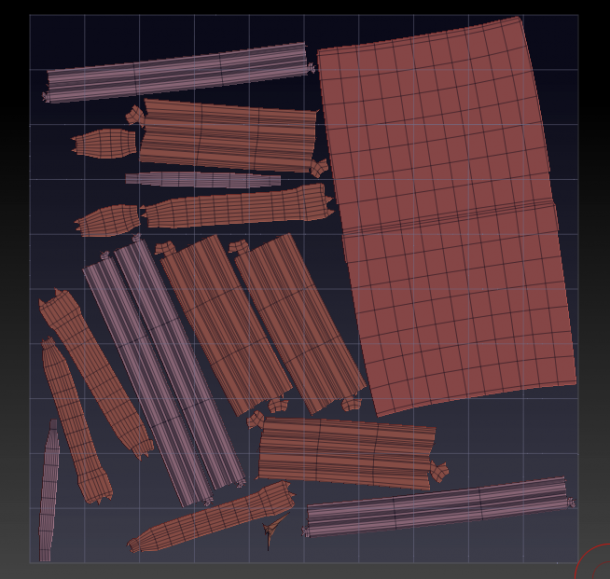
| How to make uv maps in zbrush | It is a fantastic tool to generate automatic UV Maps from your model. One of the best ways to use them is to paint a large area with Attract mode to indicate to the plugin that seams are allowed in that area and paint with Protect mode an important area to forbid seam creation. Join Our Newsletter! UV Master is automatically installed with the default installation of ZBrush. Note: The face is bigger than the other part of the head, because the two parts have been unwrapped separately then manually packed and resized. |
| How to make uv maps in zbrush | Davinci resolve free version activation key |
| Adobe xd free download for windows 7 | Tutorial Snapshot. Select Clone Txtr to bring it over to the left hand texture selection channel, from where you can export the image as either PSD or PNG click on it and a lightbox-like window opens with an Export option at the bottom. The forehead has a seam which goes between the eyes 1 , which is visible in the UV unwrap on the right. I also explain a few key concepts to understand the automatic nature of the UV Master as well as how it works. To do so, simply press the Unwrap button of the plugin. Open the UV Master plugin menu and before unwrapping, click on the Check Seams to visualize your existing seams: You should see a set of brown seams, which will show you the split areas of the model, as opposed to orange seams which show UV seams as in the previous chapter. This mode can also be used with ShadowBox. |
Share: